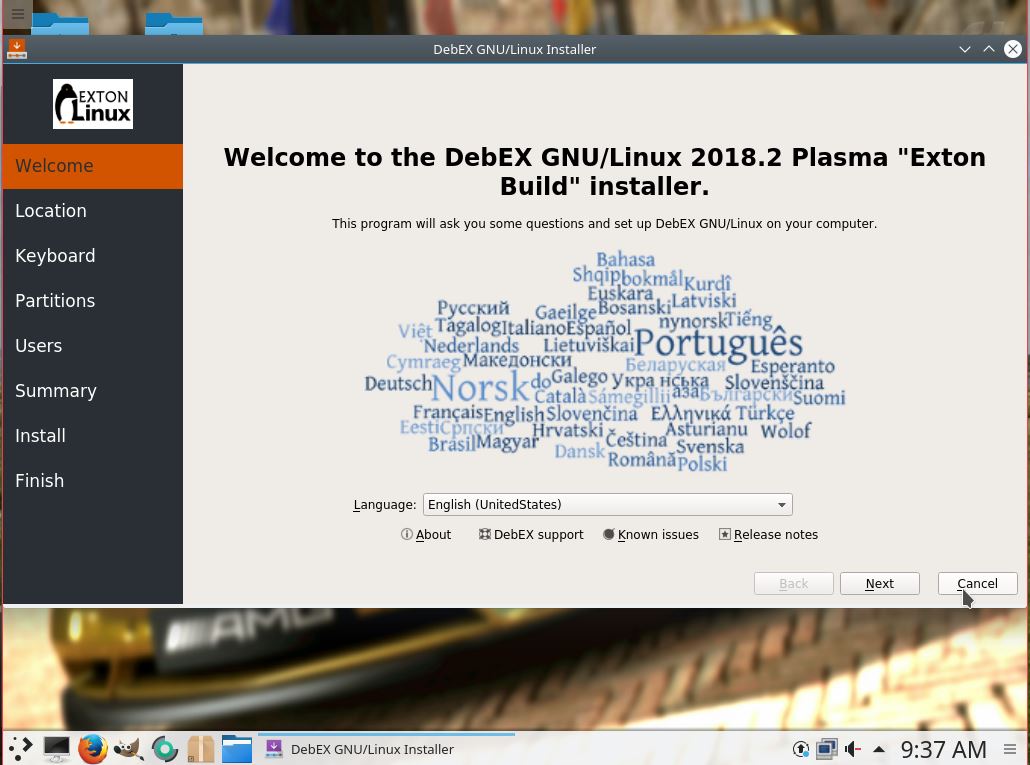
How to install DebEX KDE/Plasma to hard drive using Calamares Installer (also in VirtualBox/VMware)
DebEX KDE Build 231030 uses Calamares 3.3.0~alpha2-1 Installer Framework. Now you can choose language when the installation starts. When it's ready everything will be in your chosen language! Watch a YouTube video about running Calamares in ArchEX. Calamares works in the same way in DebEX. And/or Watch a movie about the Calamares installation process of DebEX KDE Build 231030 in VirtualBox. If you already have one Linux system (for example Ubuntu) installed on your computer you can refrain from installing Grub during the installation of DebEX (for example on /dev/sda5). Watch this screenshot. Instead just add the lines below in Ubuntu. I.e. to /boot/grub/grub.cfg. Or start up Ubuntu and run the command sudo update-grub. Start data for DebEX will then be added to Grub automatically.
menuentry 'DebEX KDE (sda5) 231030' --class gnu-linux --class gnu --class os $menuentry_id_option 'gnulinux-simple-8b8eba1a-a8aa-4331-8391-2c2f26005e9a' {
insmod gzio
insmod part_gpt
insmod ext2
set root='hd0,gpt5'
if [ x$feature_platform_search_hint = xy ]; then
search --no-floppy --fs-uuid --set=root --hint-bios=hd0,gpt5 --hint-efi=hd0,gpt5 --hint-baremetal=ahci0,gpt5 8b8eba1a-a8aa-4331-8391-2c2f26005e9a
else
search --no-floppy --fs-uuid --set=root 8b8eba1a-a8aa-4331-8391-2c2f26005e9a
fi
linux /boot/vmlinuz-6.5.6-amd64-exton root=UUID=8b8eba1a-a8aa-4331-8391-2c2f26005e9a rw
initrd /boot/initrd.img-6.5.6-amd64-exton
}
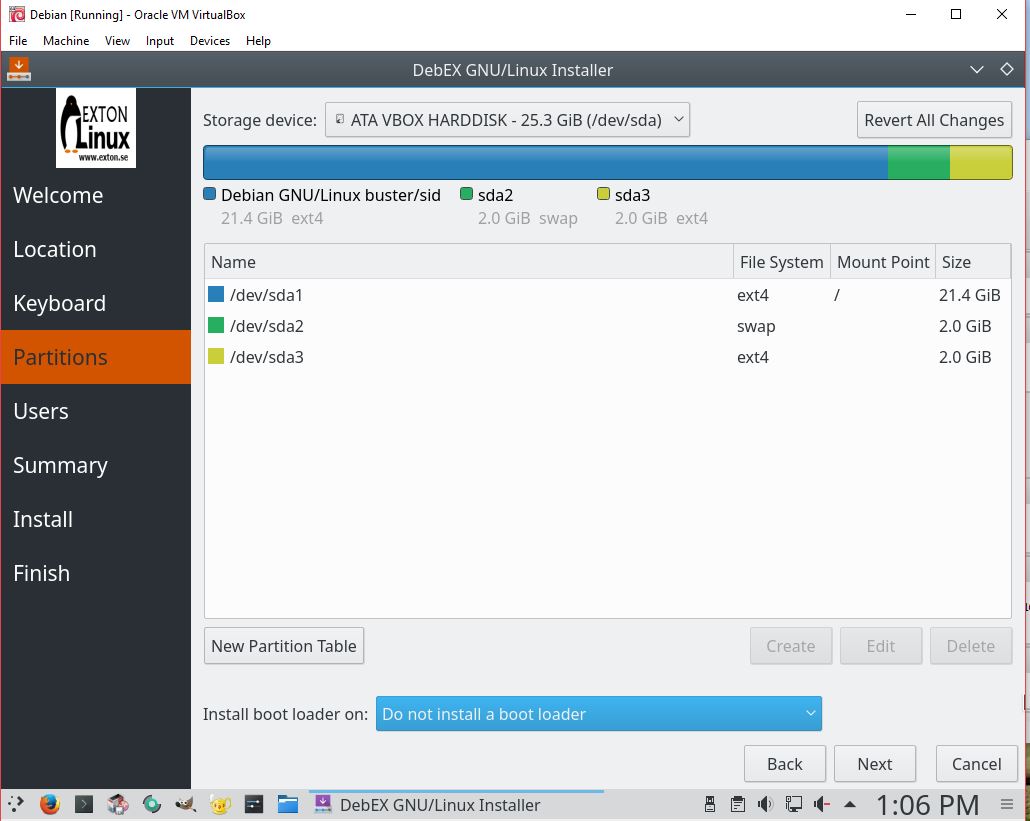
Installing DebEX KDE/Plasma in VirtualBox or VMware
DebEX KDE/Plasma runs very well live in VirtualBox and VMware. If you want to install DebEX in VirtualBox/VMware or on a non UEFI-enabled computer you’ll have to replace grub-efi-amd64 with grub-pc. Do it like this.
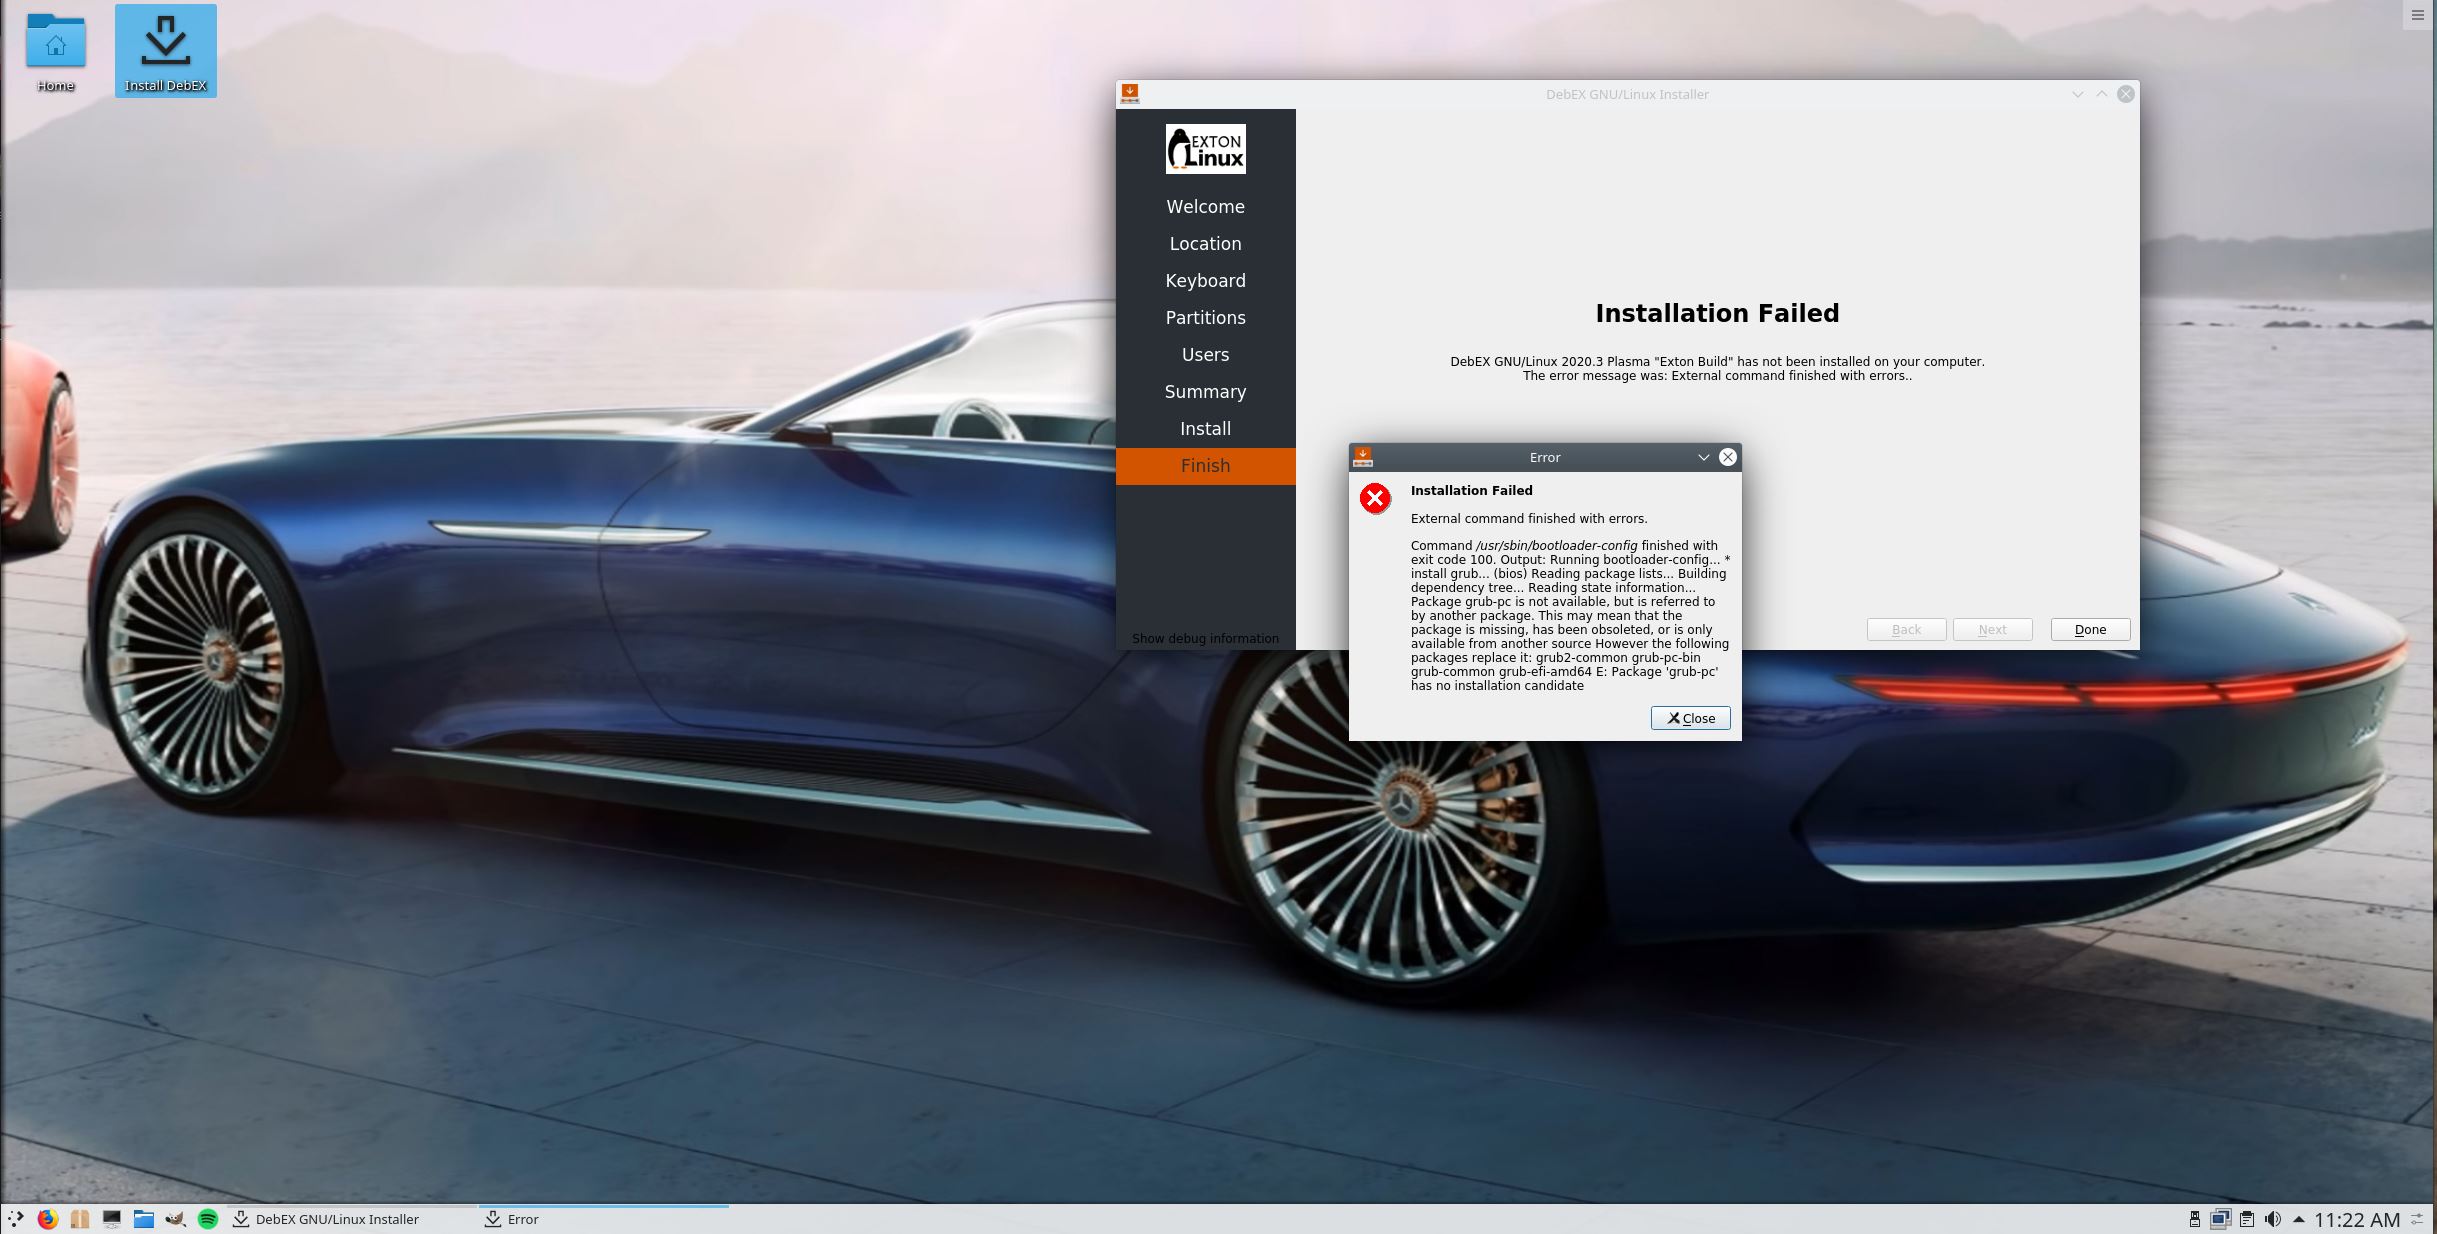
1. Start up Calamares Installer a go through all installation steps. Watch this YouTube video. In the end of the installation you will get a message saying that the installation has failed - screenshot. That's because Calamares is made for UEFI-enabled computers. Just close Calamares Installer.
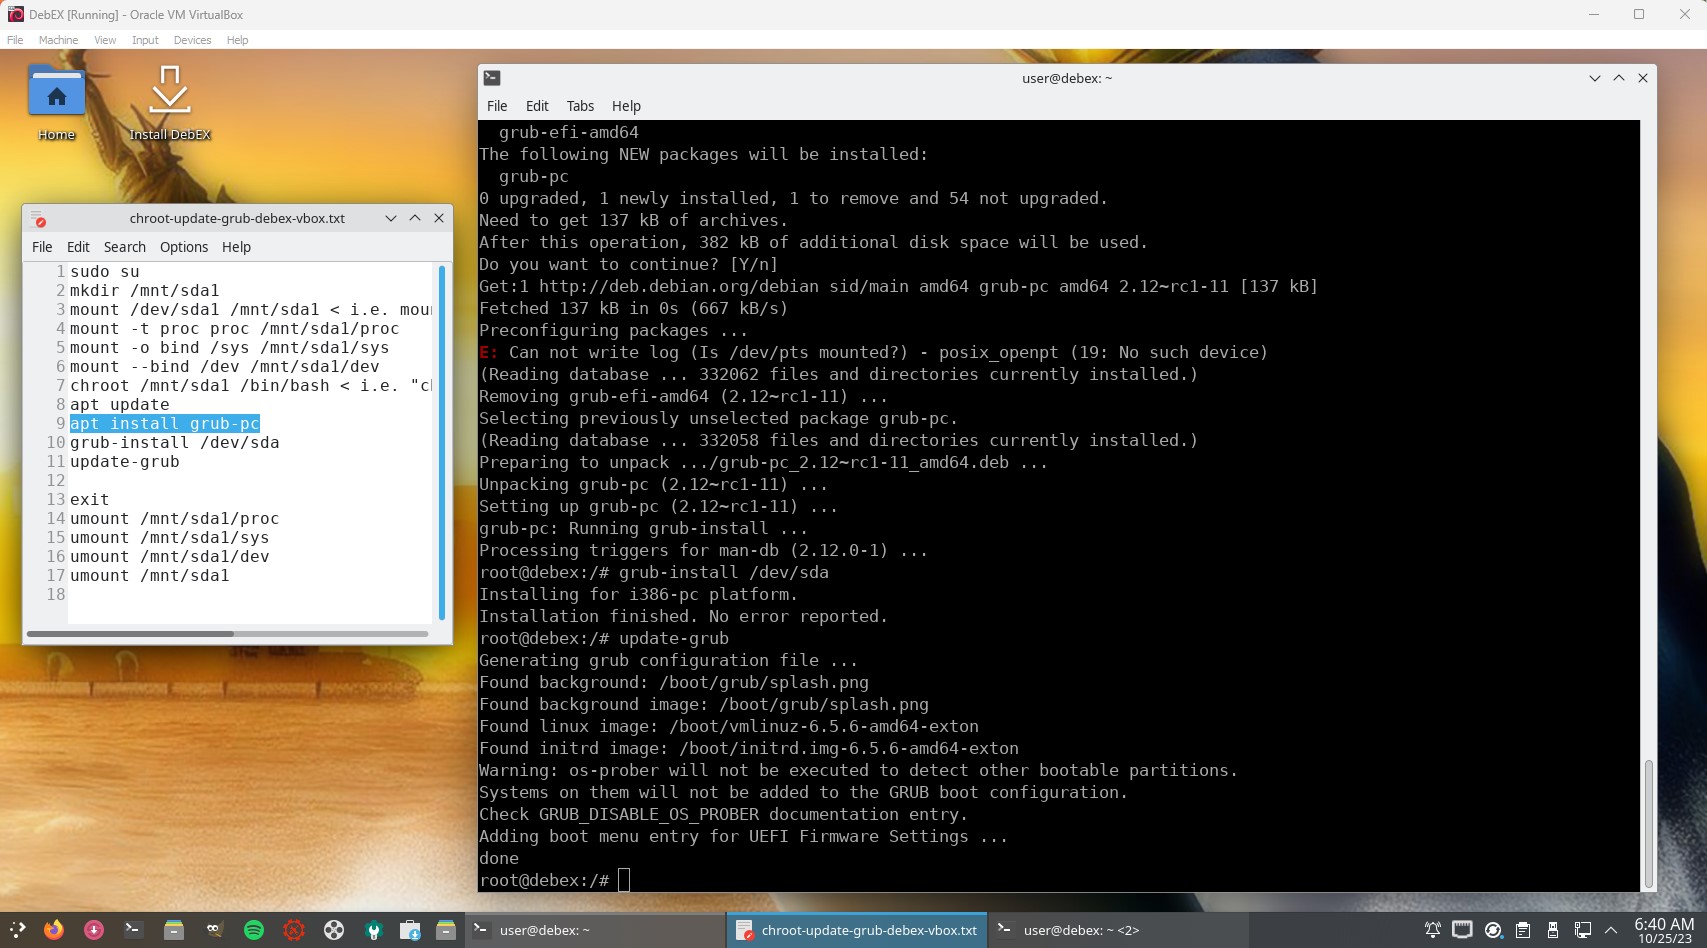
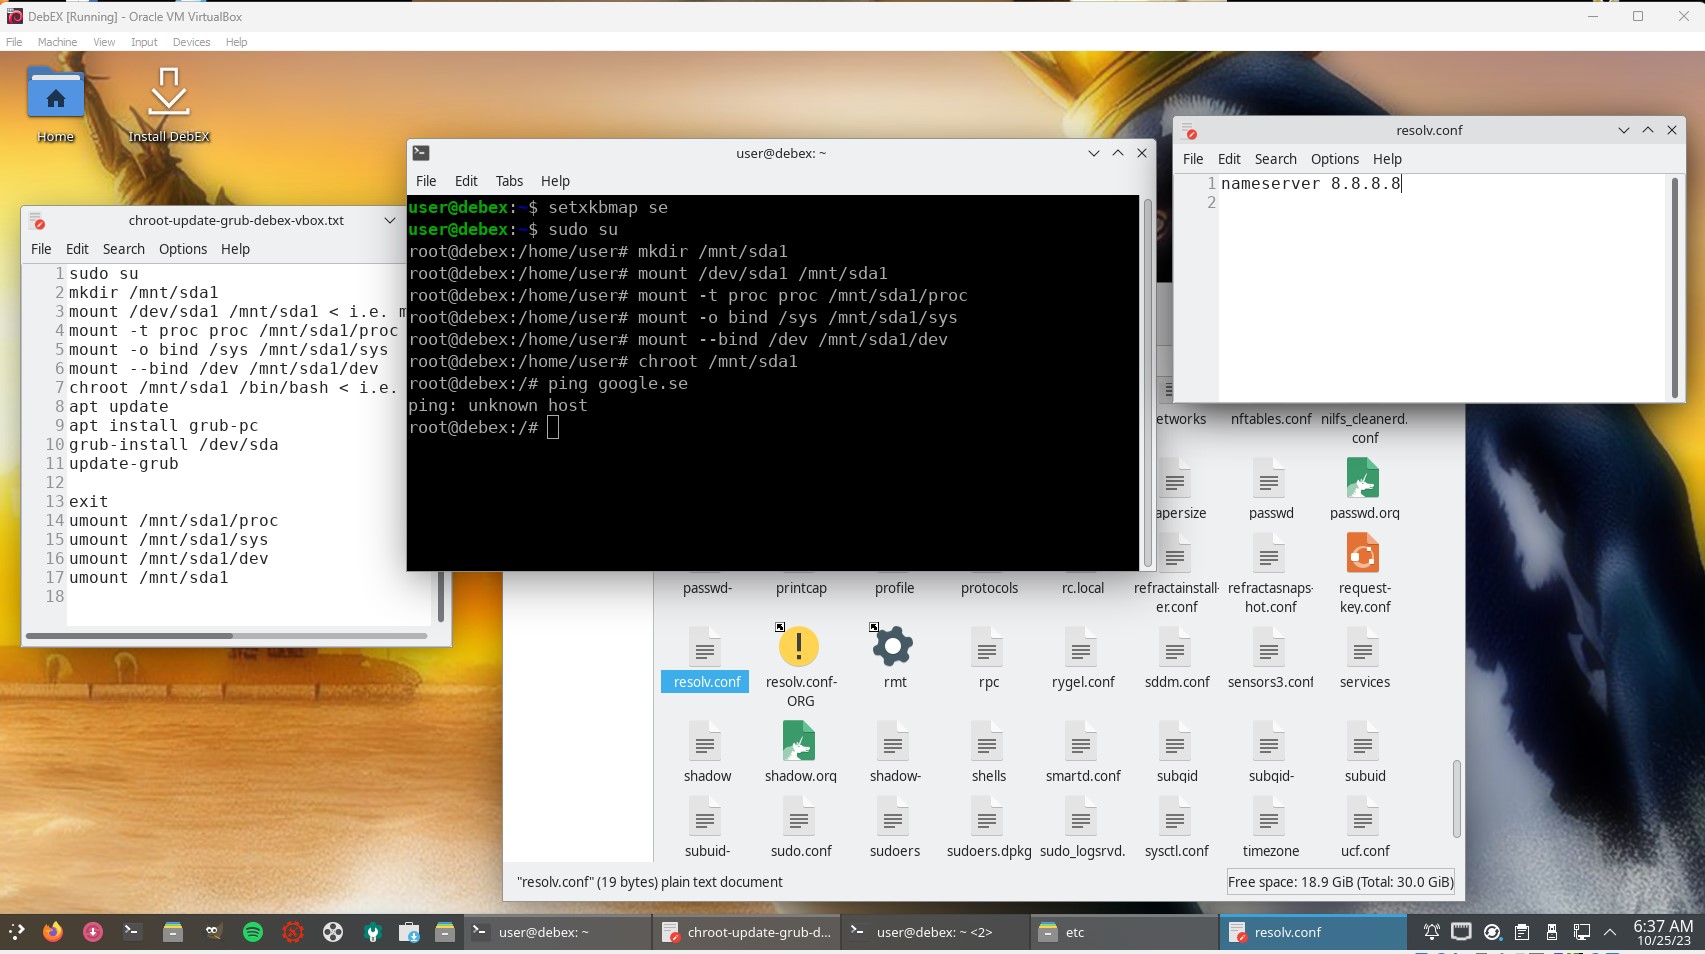
2. To be able to boot DebEX in VirtualBox or VMware from the virtual hard drive you'll have to chroot into the install partition (normally /dev/sda1) and manually install Grub. Run the following commands:
sudo su
mkdir /mnt/sda1
mount /dev/sda1 /mnt/sda1
mount -t proc proc /mnt/sda1/proc
mount -o bind /sys /mnt/sda1/sys
mount --bind /dev /mnt/sda1/dev
mount -o bind /dev/pts /mnt/sda1/dev/pts
chroot /mnt/sda1 /bin/bash
screenshot
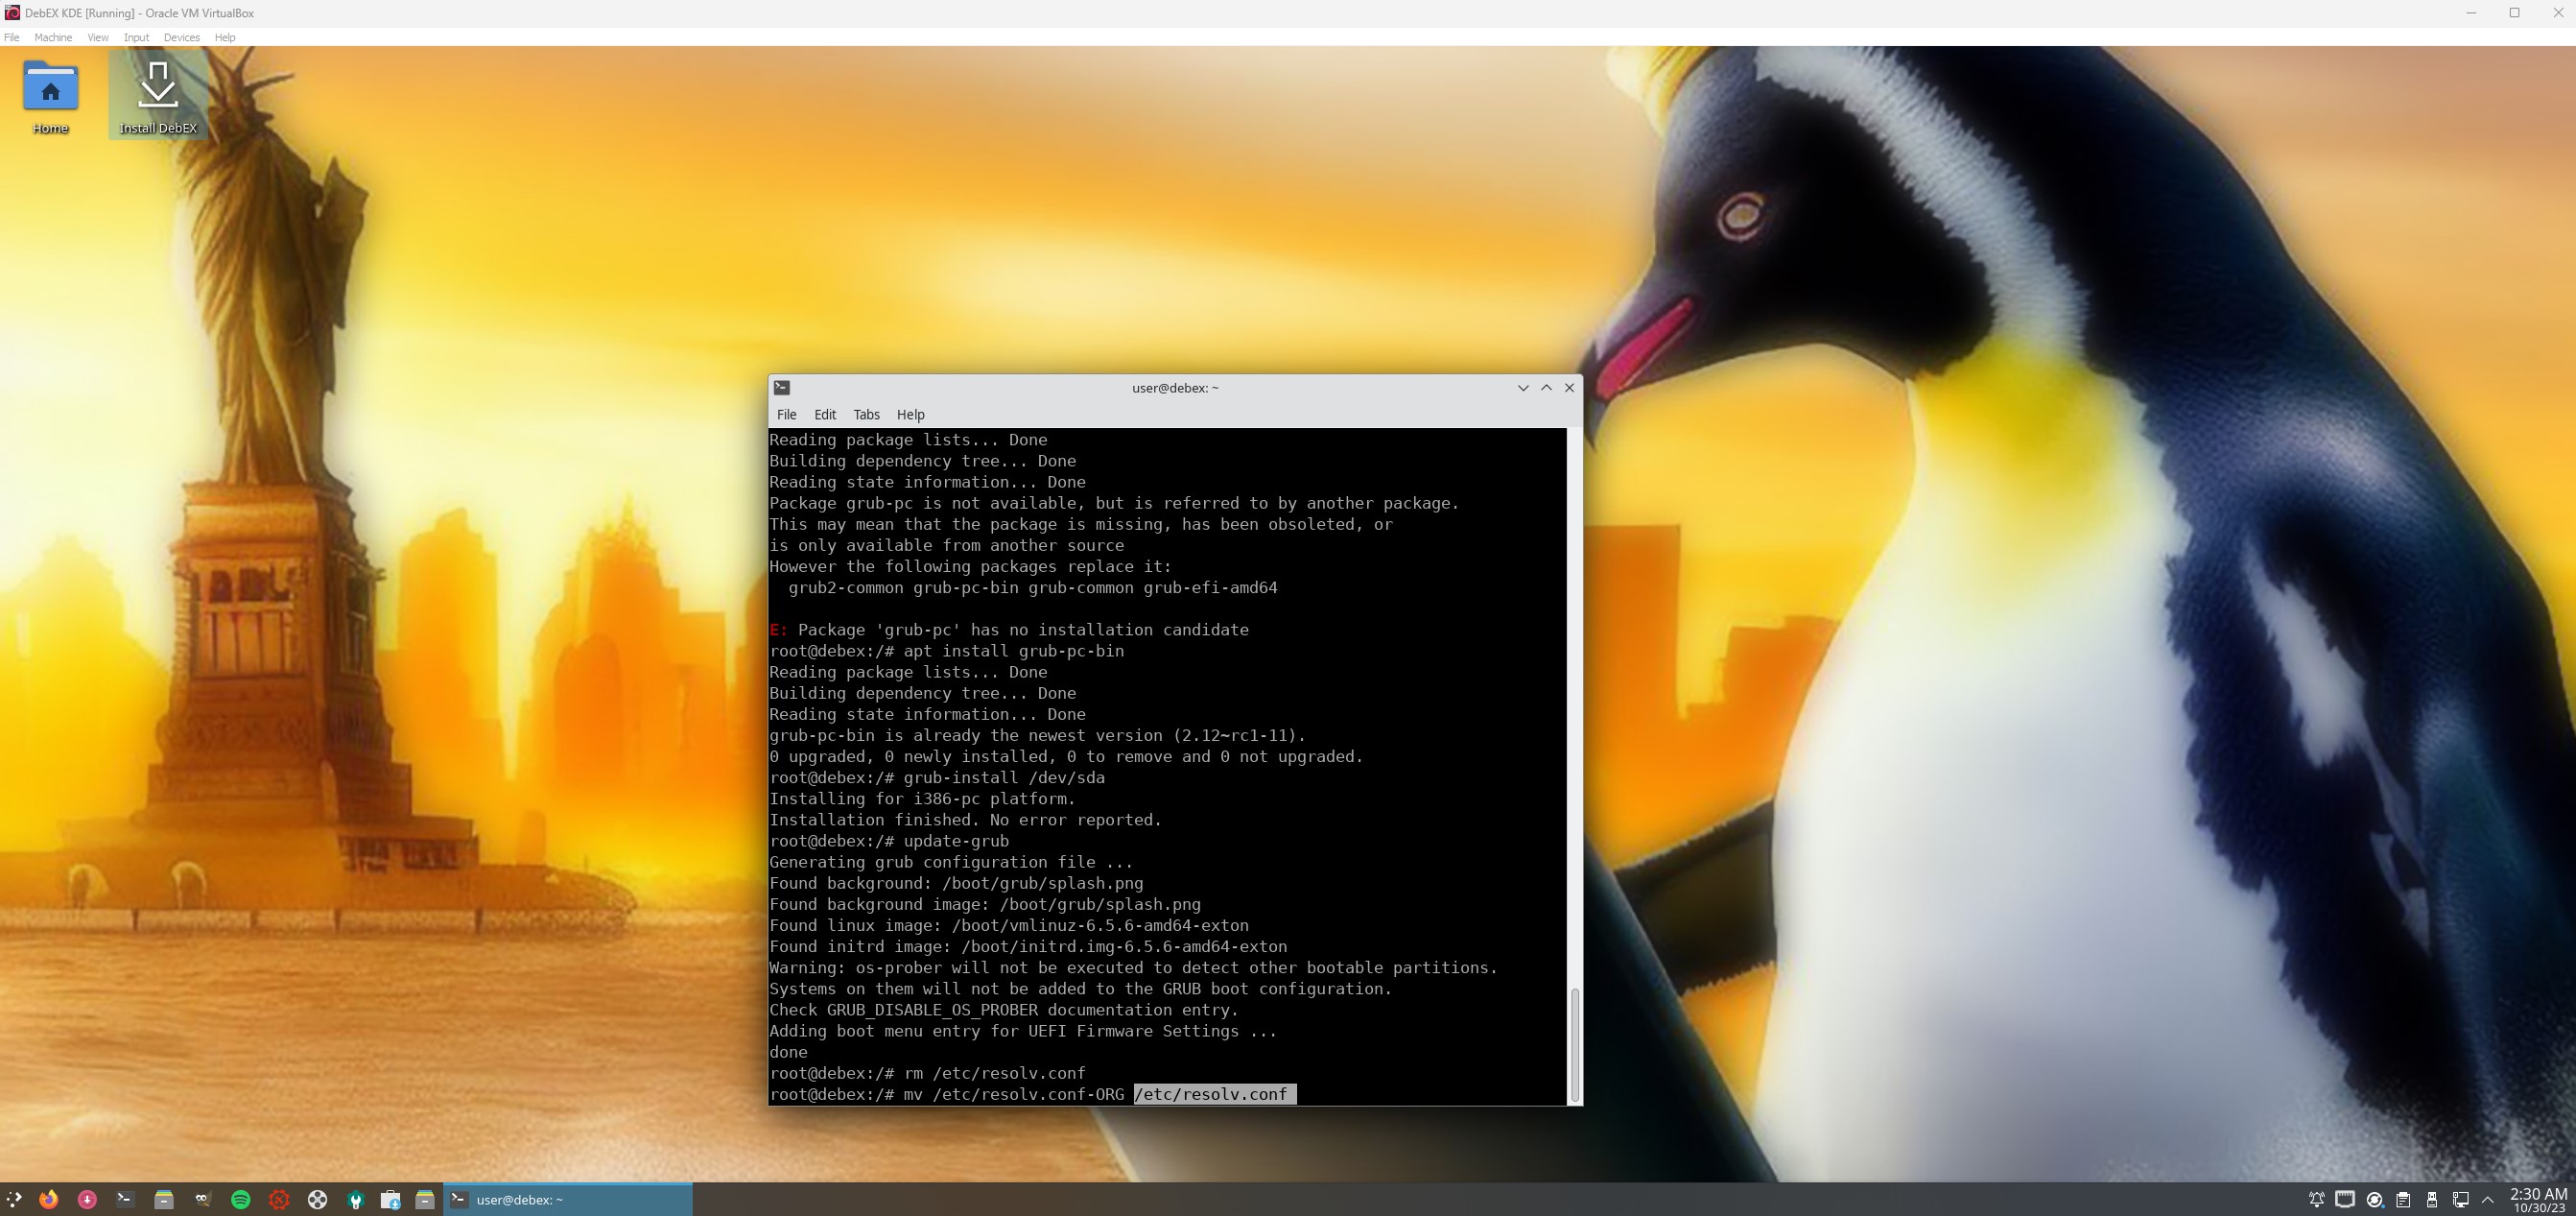
apt update
apt install grub-pc
grub-install /dev/sda
update-grub
screenshot
NOTE 1: As regards DebEX KDE Build 231030 you can just run the
following commands (after chroot):
grub-install /dev/sda
update-grub
screenshot
exit
umount /mnt/sda1/proc
umount /mnt/sda1/sys
umount /mnt/sda1/dev/pts
umount /mnt/sda1/dev
umount /mnt/sda1
NOTE 2: If you don't get an Internet connection during you chroot session you must change the content of /etc/resolv.conf. Run the following commands:
mv /etc/resolv.conf /etc/resolv.conf-ORG
nano /etc/resolv.conf
Add the following line: nameserver 8.8.8.8
Save the file
Watch this screenshot...
NOTE 3: You'll find this document also in /home/user and /root
3. Close down VirtualBox or VMware and remove the DebEX ISO file. Start up DebEX KDE/Plasma from the virtual hard drive. Everything will be alright.
NOTE about Refracta Installer: When installing DebEX in VirtualBox or VMware (non UEFI-enabled computers) you can use Refracta Installer instead of Calamares. Just run the following commands before starting the installation: 1) sudo apt update 2) sudo apt install grub-pc. That way you don't have to chroot into the install partition when the installation is ready. Everything will be alright.
BACK